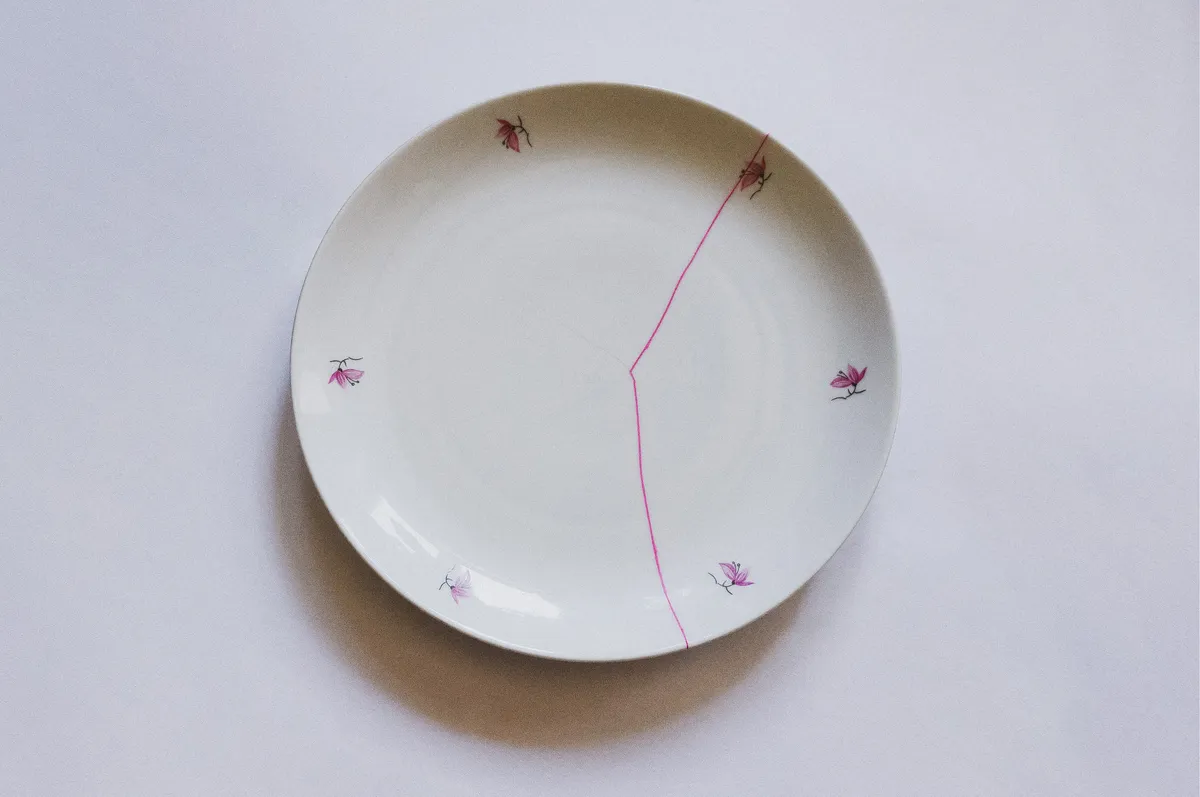
We all know that horrible sinking feeling when your favourite bowl or mug hits the floor. The crack of ceramic on tile is one we all dread. But what if there were a way of repairing broken ceramic and porcelain objects that made them look evenmore fabulous? The Japanese art of mending old bowls and plates, filling their cracks with gold, has become a popular way of bringing new life to old ceramics.
What is kintsugi?
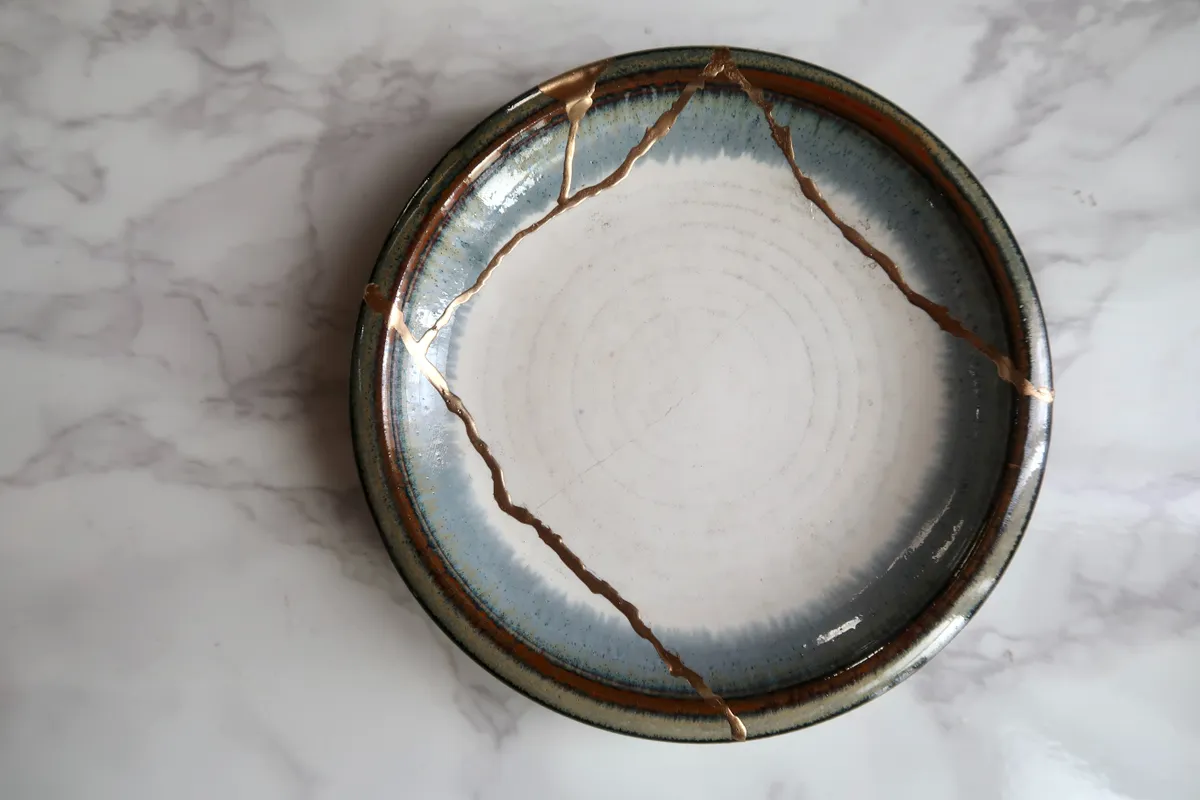
Kintsugi is the centuries-old Japanese art of mending broken, cracked and damaged ceramics. Traditionally, the repairs were completed using 'urushi' (Japanese lacquer) dusted with powdered gold. Rather than disguising the damage, the gold lacquer shows off the cracks, often making them more precious than before.
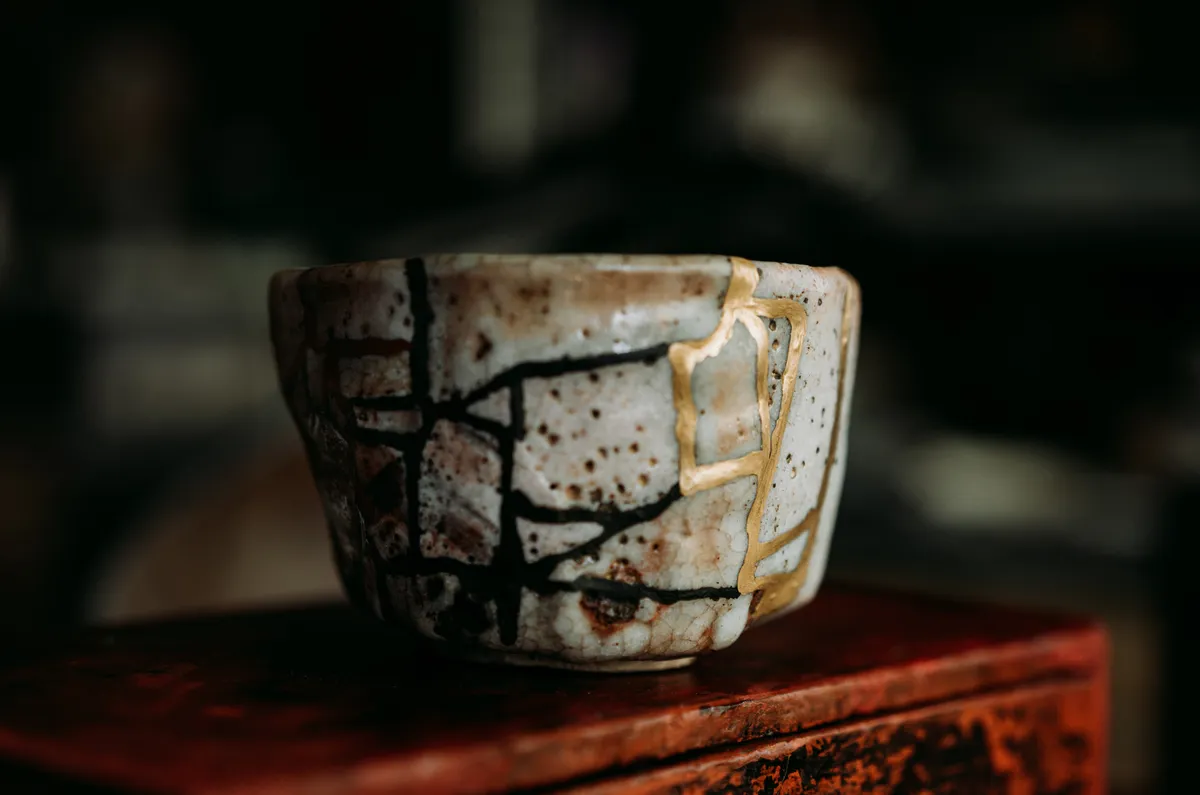
It doesn't have to be gold that's used for kintsugi, however. Silver powder can be used as a finish, with the missing fragments replaced with pieces of different ceramics or pieces of wood.
It has become a form of art, with many artists breaking ceramics on purpose so they can repair them in this vibrant, unusual way.
What does kintsugi mean?
The word 'kintsugi' translates from the Japanese for 'golden joinery'. 'Kin' is the Japanese word for 'gold', while 'tsugi' is join.
The artform is also known as 'kintsukuroi', the Japanese term for 'golden repair'. These direct translations focus on the element of gold, which is the main colouring used for the process.
Most kintsugi repairs aren't done using real gold. Instead, artists and restorers use a blend of brass, copper and zinc to create a gold effect lacquer. Visually, it tends to look no different from the real thing.
What does kintsugi symbolise and what is its philosophy?
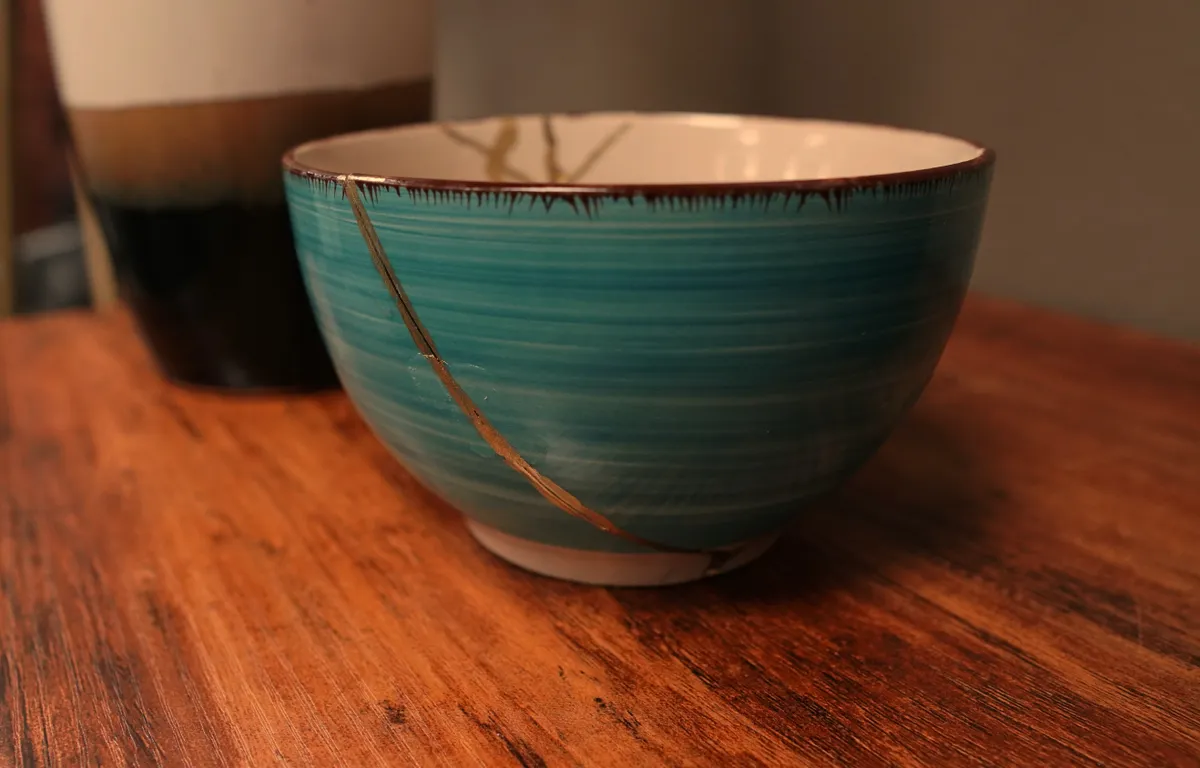
The Japanese metaphor of kintsugi is all about embracing imperfections and making damage and scars beautiful, in a way that shows the changes they've been through but honouring this – rather than hiding them away.
Kintsugi is not simply a form of repair; it is a philosophy, and a way of bringing new beauty to a damaged object.
Video by pojstudio via Instagram
What are the different methods of kintsugi?
There are three main types of kintsugi, which each use a different method.
Crack method
The simplest and most common method of kintsugi: you simply join pieces of ceramic together with minimal, delicate lines, using golden adhesive.
Makienaoshi method
If you're missing fragments from your ceramic, you can replace them with fragments made entirely from the golden adhesive. This is a great choice for ceramics with missing chips or shattered areas.
Joint method
If you have two broken ceramics, you can use them together to make an entirely new item. Granted, you have to find parts that fit together, but if done well, this can be a thoroughly effective method.
How to do kintsugi
Step 1: Choose your kintsugi object
Find a broken ceramic, preferably one used for decorative purposes rather than for the consumption of food or drink. This is important because the lacquer used may contain damaging toxins.
Step 2: Choose your method of kintsugi
Depending on how your ceramic has been broken, you'll be able to choose an appropriate method. If it's a clean cut down the middle, go for the crack method. If there are chunks missing, try the Makienaoshi or joint methods.
Step 3: Prepare your lacquer adhesive
If you buy an at-home kintsugi kit, this will usually be prepared for you. If you're making it from scratch, use two parts clear ceramic adhesive and one part mica powder. Mix these together on scrap paper, just before you start gluing the objects together. Move quickly, as it dries fast.
Alternatively, you could use one part clear ceramic adhesive with liquid gold leaf.
Step 4: Glue your pieces together
Paint the edges of your broken ceramics and hold them together until the lacquer dries. If you are using the Makienaoshi method, you'll need to place masking tape on one side of the ceramic where the piece is missing. Then, fill this with the gold lacquer and wait for it to dry.
It might be easier to connect the smaller pieces before assembling the larger parts.
Step 5: Create the gold lines onto your ceramic
If you have used mica powder, the lacquer will already be gold. Sprinkle more powder on top of the cracks to brighten the gold colour. You can also add extra strokes with liquid gold leaf if you have any to hand.
If you've used gold leaf, wait until the adhesive has dried before painting onto the cracks. It should take between 10 and 15 minutes to dry fully.

Best kintsugi repair kits to buy
If you fancy giving kintsugi a try at home with a few old ceramics that might need mending, buy one of these DIY kintsugi kits to get you started.
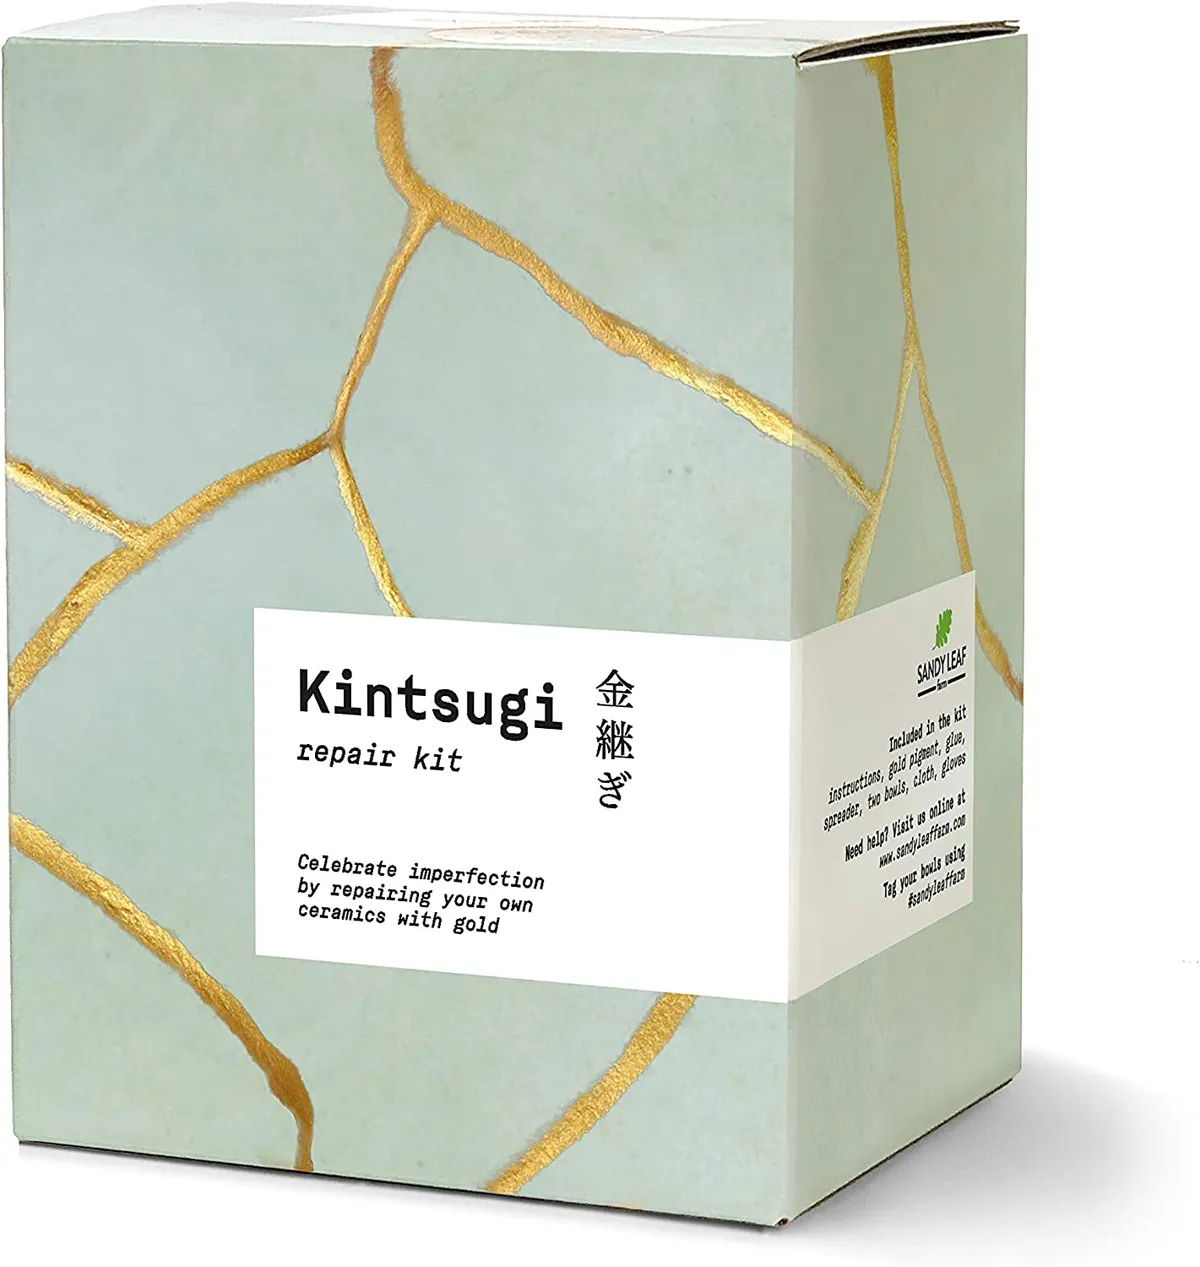
Sandy Leaf Farm Kintsugi Repair Kit
This kit includes an instruction booklet, two small, teal bowls to practise on, glue, gold powder, gloves and cotton cloth. Plus, the glue should last you for a couple of projects beyond these two bowls.
Find out how to decorate with teal here.
Chiyu Kintsugi Repair Kit
The benefit of this particular kintsugi kit is that it is food and dishwasher safe, so it can become part of your dinner routine as soon as you finish it. Its resin is developed on the shell of cashew nuts, so once the resin has been fully cured, all the items are food and dishwasher safe.

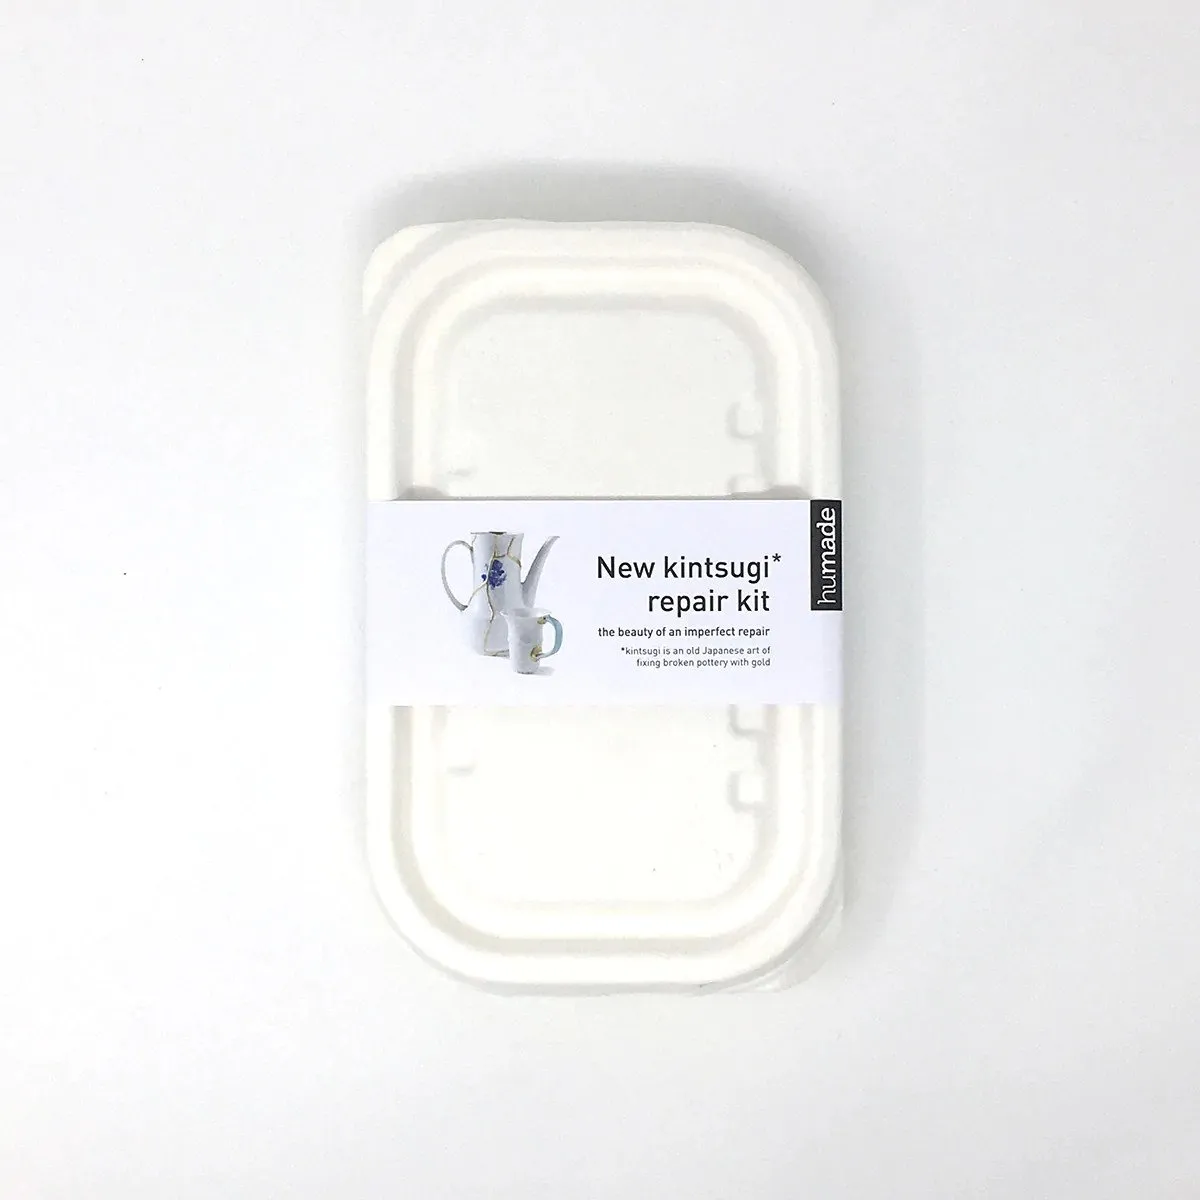
Design Museum New Kintsugi Repair Kit
This kintsugi repair kit is suitable for use on different materials, from ceramics and glass to wood, marble and plastic. The kit can be used multiple times and can fix up to ten items. Unlike other kits, it doesn't include ceramics to be broken on purpose. It simply has the required items needed to fix any broken object you may have at home.
The history of kintsugi
Although the specific origins of kintsugi are unknown, the practice is said to have been used in Japan when tea ceremonies were readily part of society during the late 16th century. These damaged tea bowls and the gold lacquer repairs became part of the crockery used during the practice of tea drinking.
